
It finally happened! I popped my cherry of upgrading RAM on a laptop. Even though I have had upgradable stationary computers and laptops, my wife’s device is the first one for which I looked, bought, and changed the RAM. It originally had 8 GB. However, my wife has started to edit photos using Lightroom, she noticed that her machine had begun to struggle. I Googled if her Lenovo machine permits RAM upgrades and its maximum size. Turns out it does and 16 GB should be enough. After a short search on Amazon, a package with 16 GB of RAM was in my mailbox.
Before buying the component I searched on YouTube on how to upgrade RAM on a Lenovo Yoga 520 laptop. I found two good videos with step-by-step instructions. Nothing complicated. Therefore, I was confident in my ability to do this upgrade. After all, I have had experience with iPhone upgrades – iPhone 7 and iPhone 5S.
Below you will see a short photo report on how I managed. For seasoned techies, this may seem like child play. For me? Sort of.
I started by removing nine screws from the bottom cover. As you can see I made use of the magnetic pad from iFixit.

Luckily this computer had once already been to a repair shop. It had issues with the screen. Even though there is no adhesive between the cover and the chassis, I saw in videos that it may be hard to remove the cover doing it the first time. With this being the second time when the cover has been removed, it was not easy. For one, I did not want to break it. I tried to be as gentle as possible.
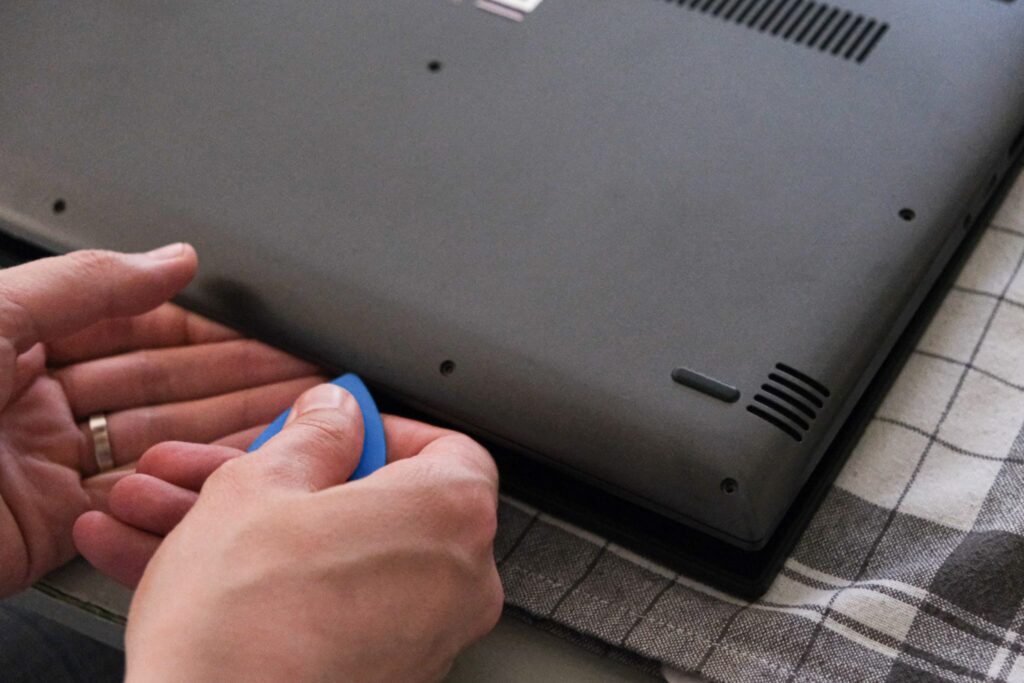
I lifted the bottom part at a 45-degree angle and tried to remove the cover.

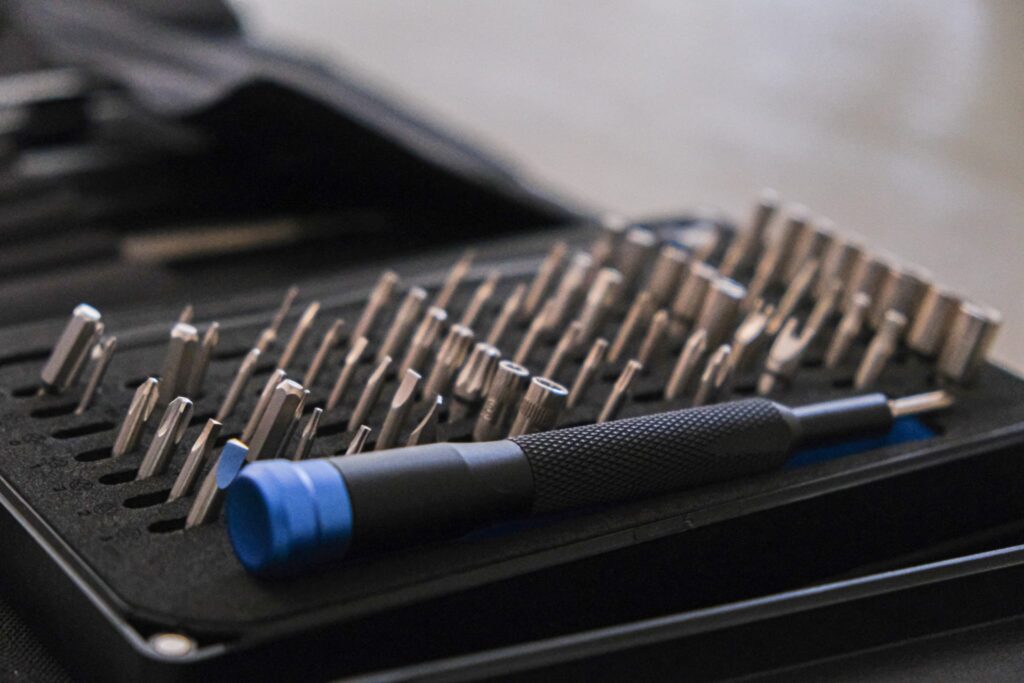
For this repair, I used my iFixit toolkit. I am glad that I have it.
In those repair videos, I saw that you must wiggle the cover to remove it. At first, it did not work. I had to turn the PC with the fan side facing me. Then I gently lifted the cover, gave it a slight wiggle and it came off in one piece. Exactly like in the video.

So far so good. The cover is off.

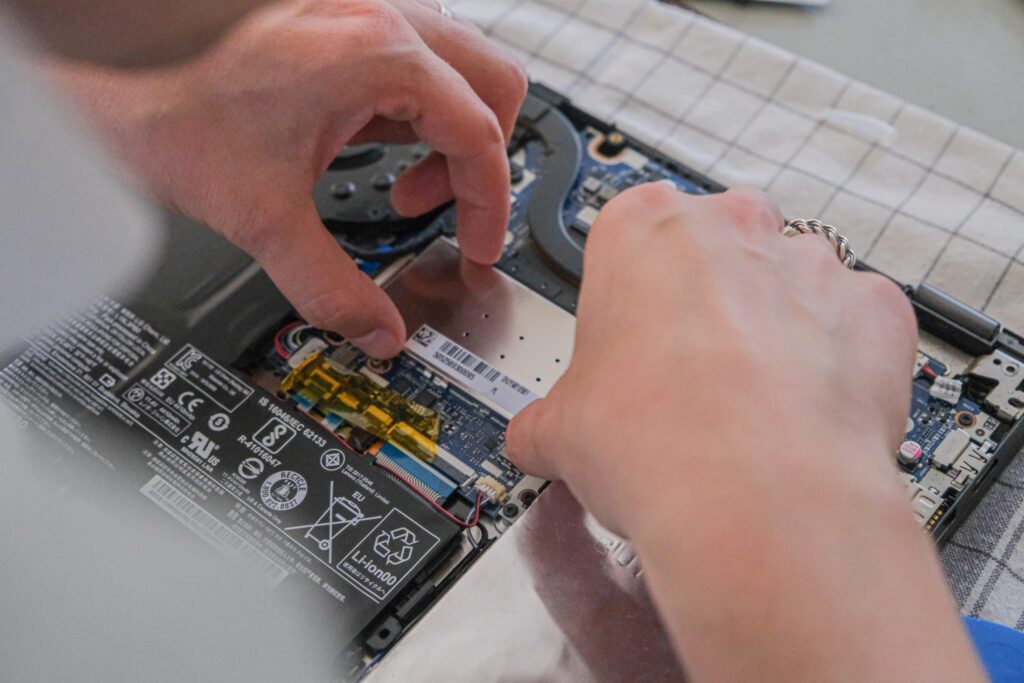
I am not a computer engineer or a technician. Electronics are not my strong suit. But, damn, I like to see what the insides of an electronic device look like. It was interesting to open an iPhone for the first time. It was also interesting to open a PC.

This marked the first repair job done with my beautiful Tudor watch on my wrist.

With the back cover removed, we move on to the RAM section. In Lenovo Yoga 520 the RAM is protected by a cover. To remove it you have to use a sharp tool. Unless you have done it more than once.
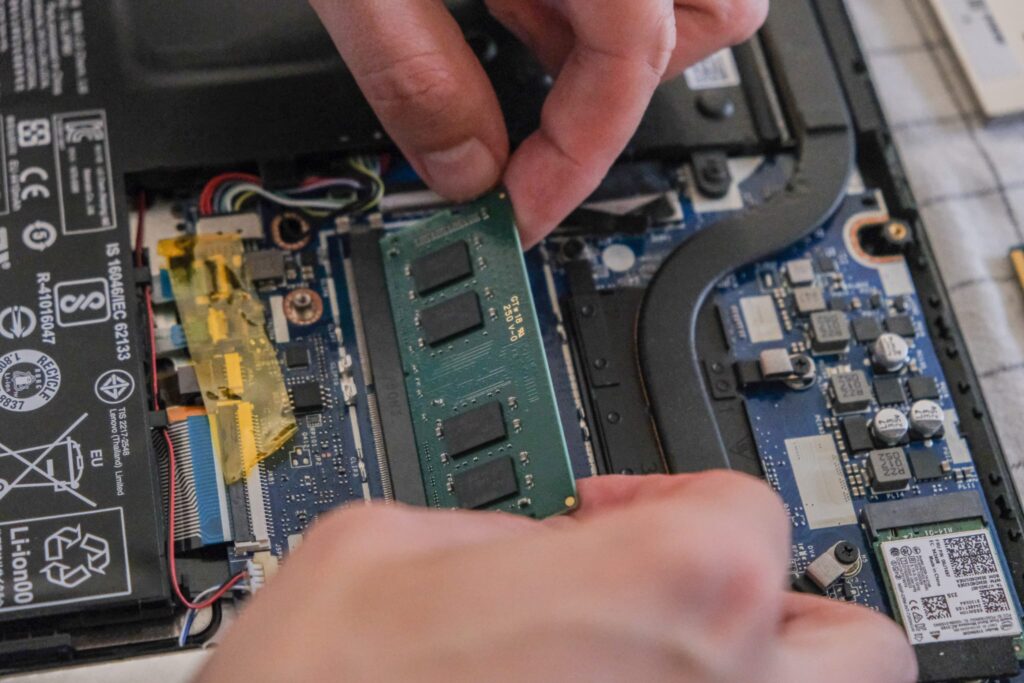
Once the protector is removed, you may take out the RAM. Two metal clamps hold it in place. Gently push them outwards, and the part should pop out. Make sure to remove it at a 45-degree angle.
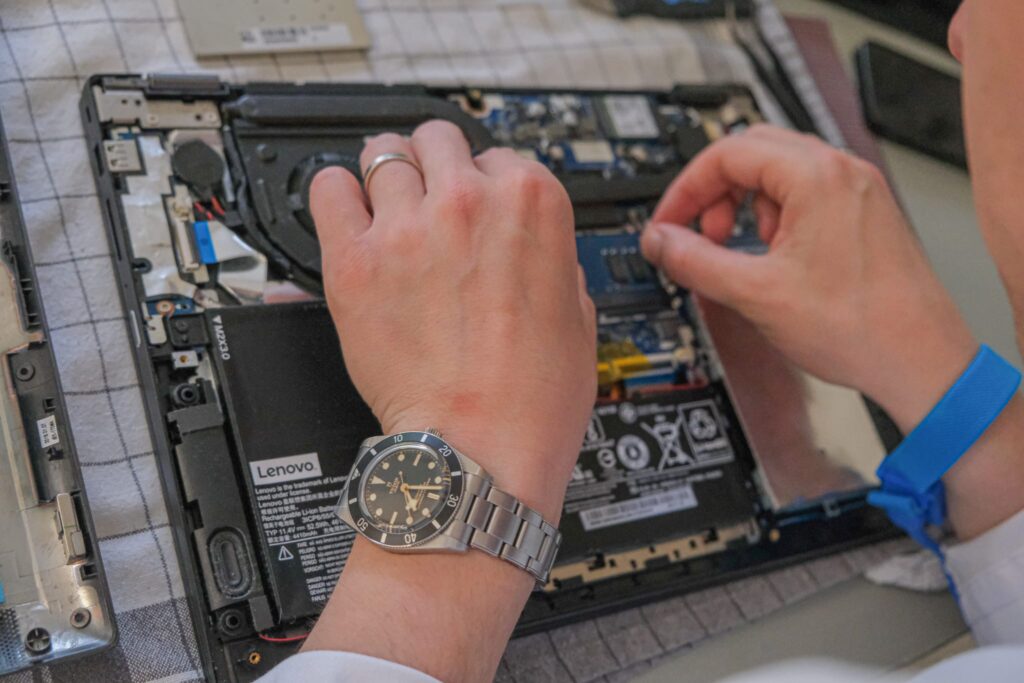
I hold in my hands my first RAM. I took it out without any damage. For some, it may seem like nothing. I was happy. I must admit that my hands shook when removing the RAM. I did not want to break my wife’s laptop.

At a 45-degree angle, I put in the new RAM. I swap 8 GB RAM with 16 GB. Now my wife should be able to use Lightroom without any lag.
I put back the RAM cover. Nothing too complicated, lightly push it down.
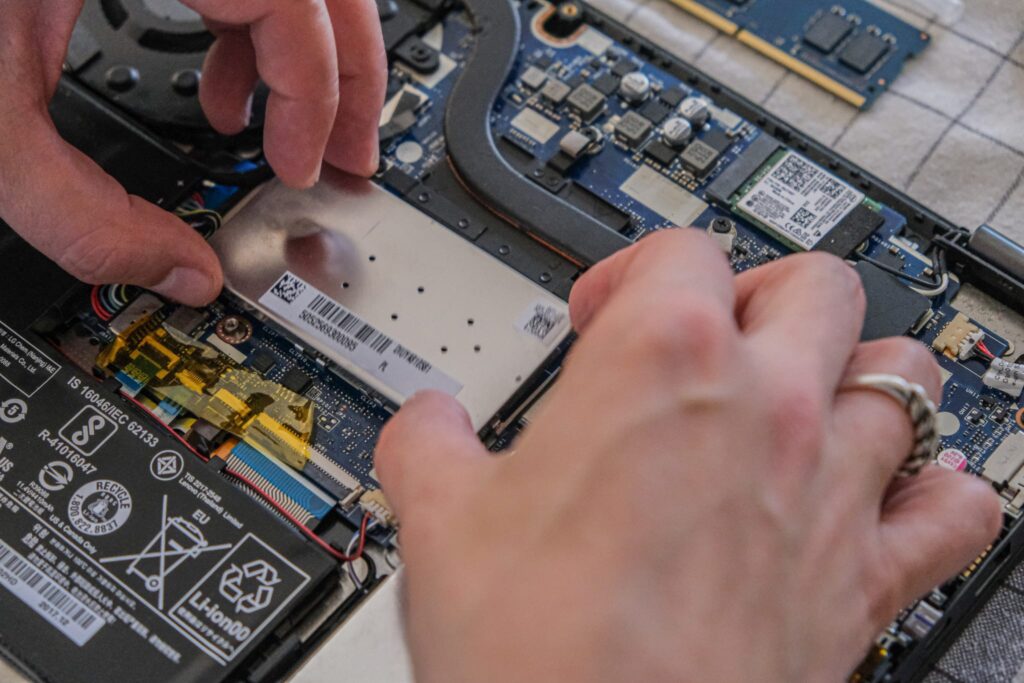
Lastly, I put back the back cover. I screw down all nine screws and boot up the PC to see if the device recognizes the new part.

It does!!! This upgrade has been a success. No errors. No unexpected events. This laptop now executes tasks much faster than before. Twice as fast.
Total cost? 35.00 EUR. Should I pursue a new hobby of PC and/or iPhone repair in Brussels? I would like to repair vintage/modern mechanical watches but that is a whole other story.
Kind regards,
Olaaf

