This article was one of the main reasons why I created this website. I wanted to do my own iPhone repair and document it. To show not only to myself but to my two to three readers that I can do this. Also, since I grew up with LEGO and I like to make/create stuff, then this should be a fun experience that may or may not develop into something further.
I am a big fan of iFixit, I watch their videos on YouTube, I read their blogs, and I follow them on social media; therefore, it comes as no surprise that I bought both my tools and parts from them.
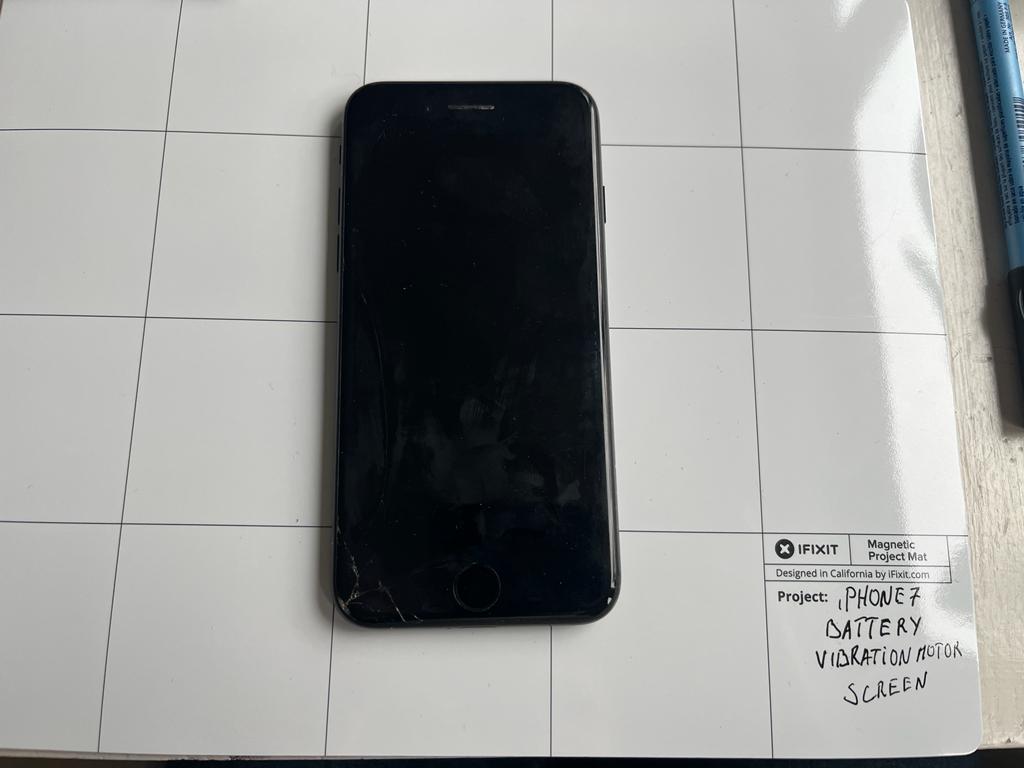
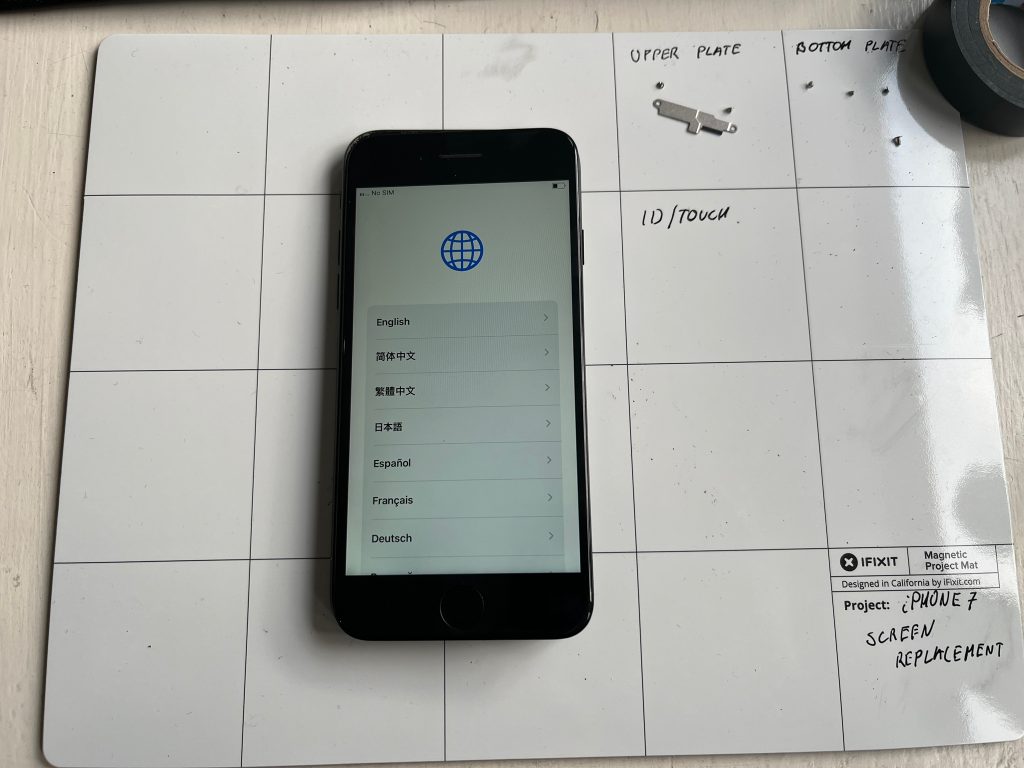
This is an iPhone 7. It is refurbished. I bought my first iPhone once this particular model came out, and roughly after six months the mute button stuck. It did not move so I could not unmute my phone. I went to the store, they sent me to their official repair shop, and they gave me a refurbished phone. Then two weeks after this “new” phone screen stuck. If I am not mistaken it just froze. I went again to the store, and they directed me to the repair shop, and they gave me another refurbished phone. This one seemed to work. Then on one faithful morning, I accidentally dropped my coffee mug on the edge of the screen, and it cracked. It was not extremely bad since I also had the protective cover, but after a while, it did start to bother me. I was tempted to do the repair then and myself, but I always rejected this idea saying to myself: “Is it really worth it?” I don’t remember when the taptic engine stopped working. And the battery did what batteries do. After a few years it just barely holds for half a day.
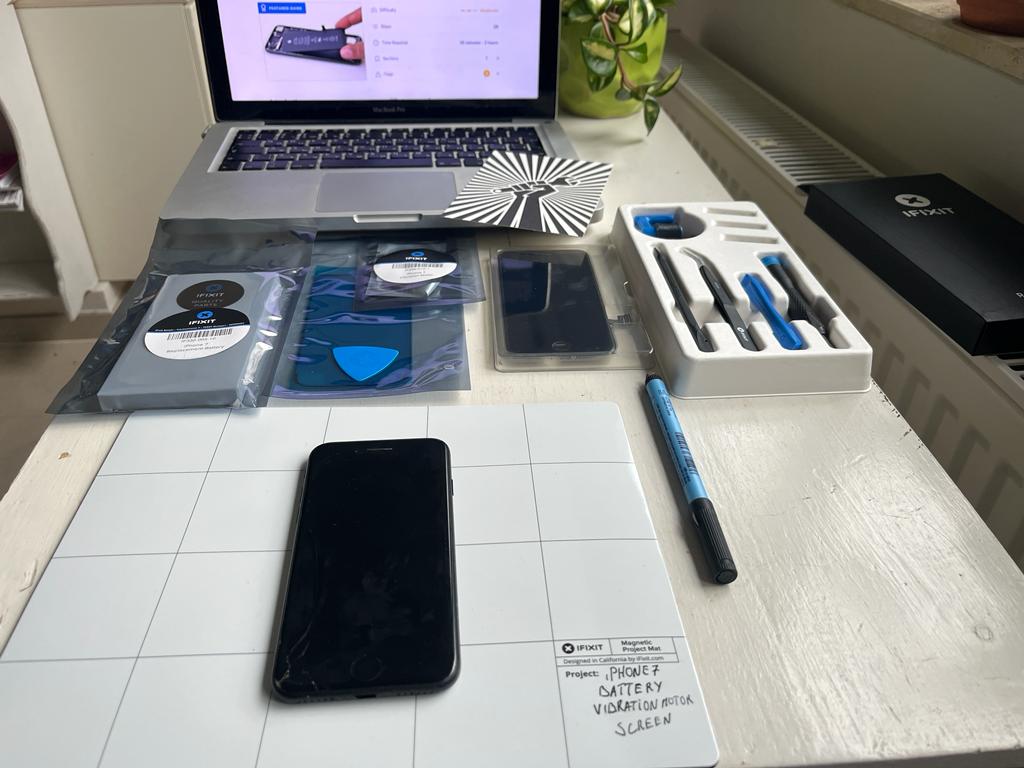
You can now guess what I bought from iFixit. An LCD and Digitizer Full Assembly, a replacement battery, a vibrator (or taptic engine as Apple calls it), and a magnetic project mat. It seemed that I had everything (or did I?).
I must admit that I was a bit nervous when I started. This was my first time opening an iPhone or any modern phone for that matter. However, luckily this was not my daily device so at least the concern that I may end up without a phone was off the table.
I woke up. Went to the shower. Made and ate my breakfast. And sat down at the table with everything laid out, and an iFixit repair guide opened on my MBP.
The first thing is to remove the screen. I removed both pentalobe screws and thought that I might open the screen without applying heat. I was wrong. Luckily my girlfriend has a hairdryer, so I applied that for about a minute or two. When the lower end of the phone seemed hot enough, I attached the suction cup and began the procedure of pulling up the screen. Yes, doing this for the first time was intense. Even though the screen was broken I was afraid to break something else. But once I noticed that a delicate approach might not be the ideal solution, I started to put more muscle into it. And it worked. The sensation of opening an iPhone for the first time is very rewarding. (I followed this iFixit repair guide for the screen opening step.)

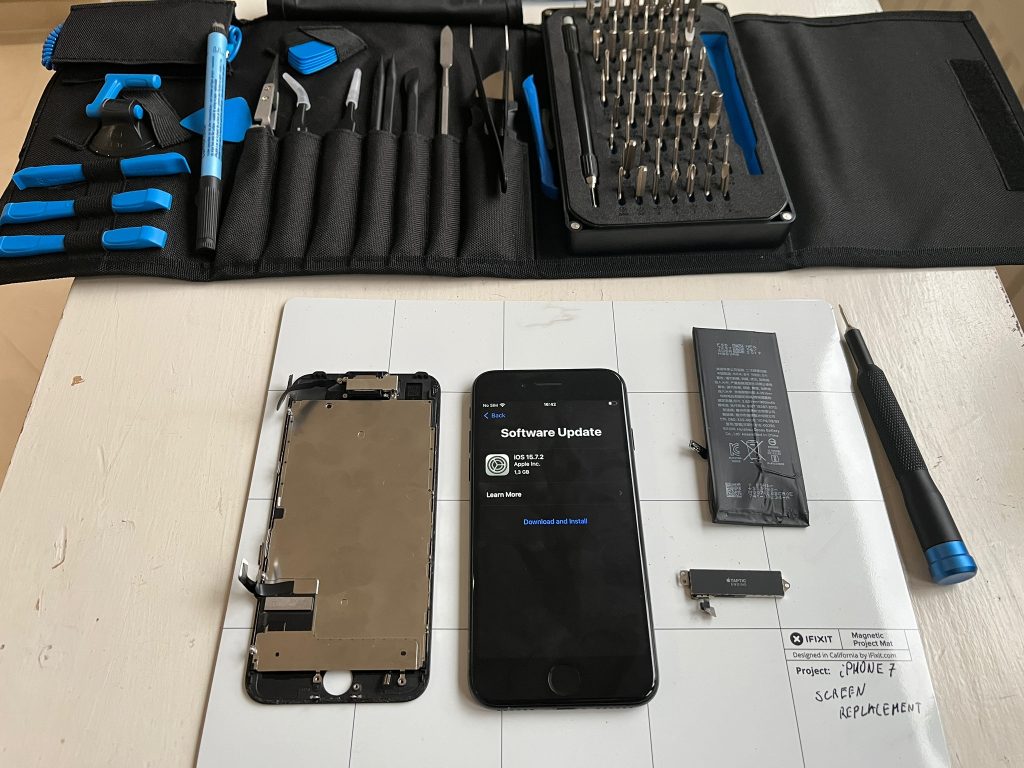
When I bought the screen, I chose one with a tool kit. It has a suction cup, a spudger, angled tweezers, an iFixit opening tool, pentalobe P2, phillips #000, and tri-point Y000 precision bits. Technically everything you need.
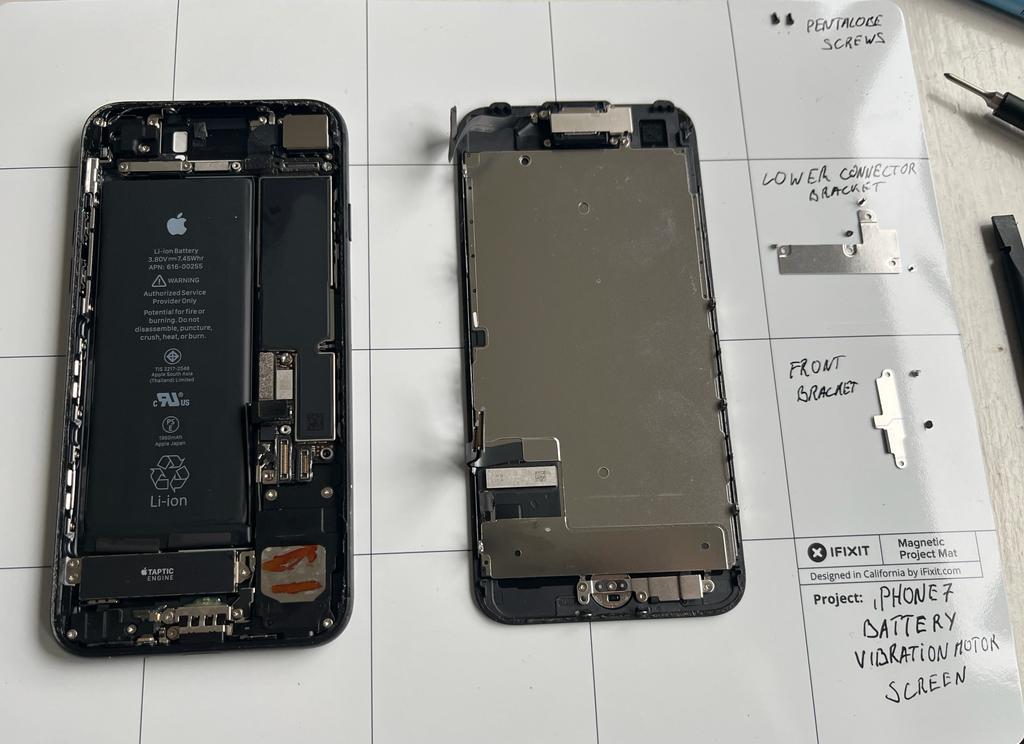
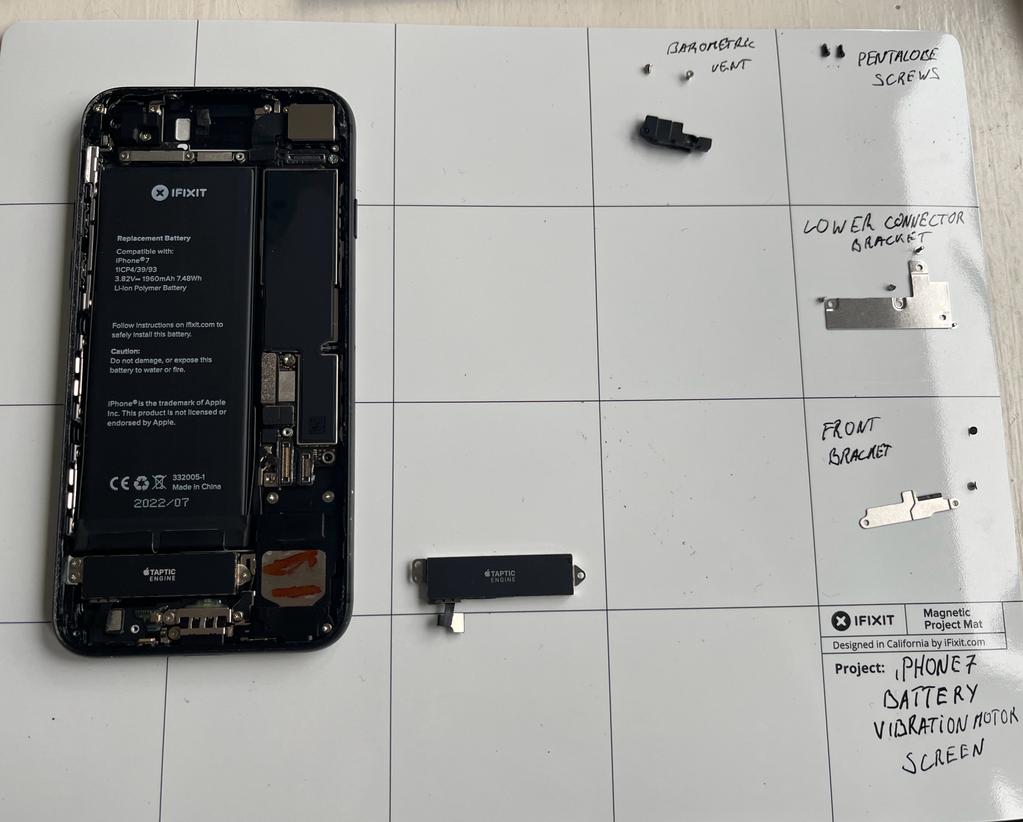
After opening the screen I removed the lower and the upper connector brackets. The screen removal process apart from the initial process with the adhesive is relatively easy.
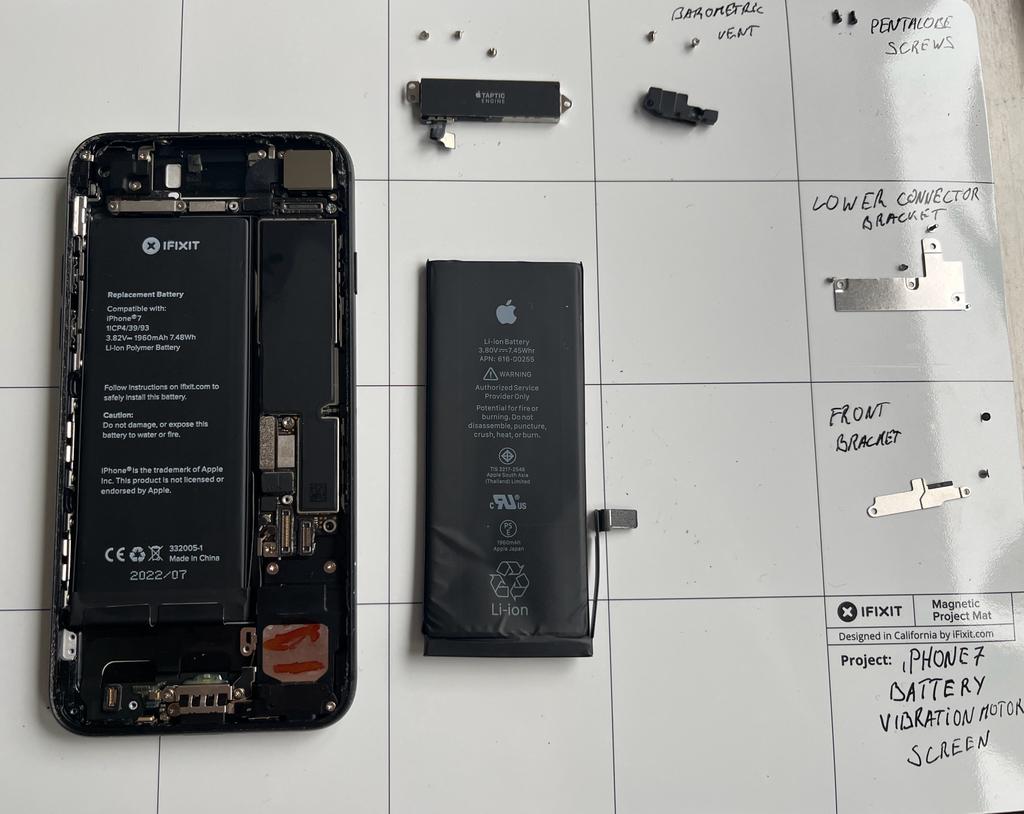
Then I removed the two 1.9mm screws securing the barometric vent. I used a spudger to disconnect the taptic engine. And removed three 1.6mm screws that secured the taptic engine. Again, everything straight forward.
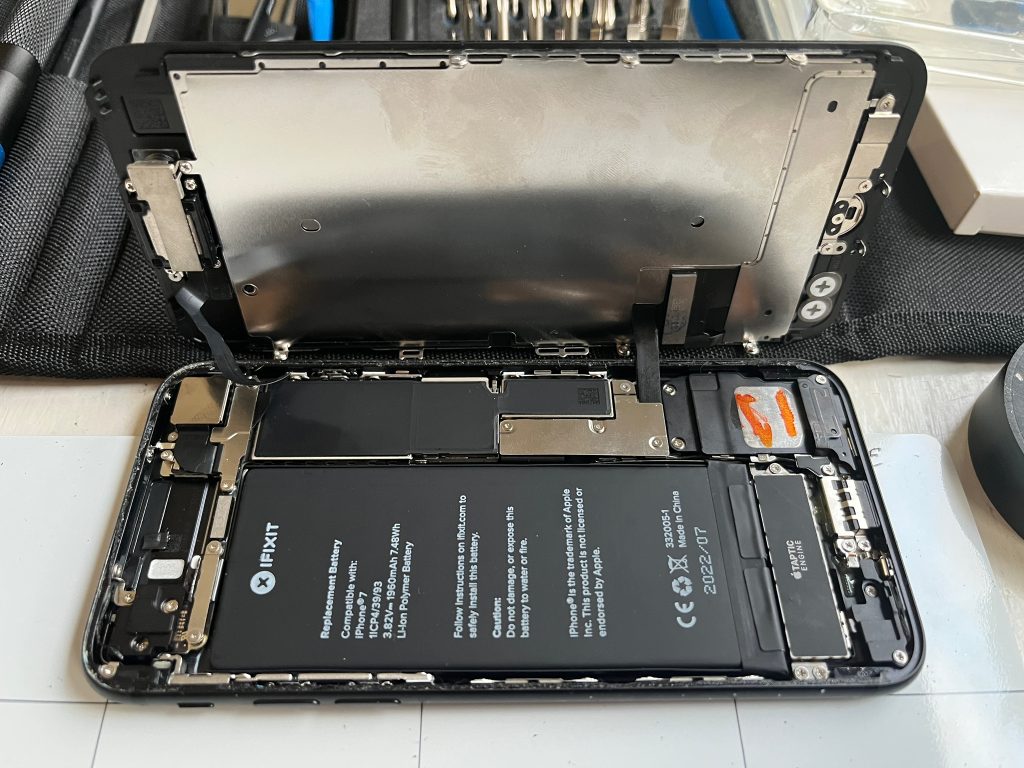
Then came the battery. I have seen plenty of iFixit videos with the adhesive removal process. Sometimes it breaks, and sometimes it does not. The first one for me did not break. So, I was confident enough that my first time removing an iPhone battery will go without a hitch. I was wrong. The second one broke. I did not have isopropyl alcohol to put underneath to loosen the adhesive; therefore, I applied the spudger and my tweezers to the job. And it worked. I managed to remove the battery. You can see in the picture below that the battery is bent a little.

So far so good. I managed to open the iPhone, I removed everything that needed to be removed. I also noticed that my loudspeaker has something on it. It looks like rust but probably is not. I assume someone more experienced knows better what that orange marker is.
After removing everything I started to put the new parts in. I started with the battery. I had an issue with the battery connector, but I solved it delicately. At least I hope so. I removed the adhesive underneath and attached the new battery. Fingers crossed it will work.
Then I put the new taptic engine. Probably the easiest part to attach. So far everything is relatively straightforward and not overly complicated. But, alas, now is the time to put the new screen.
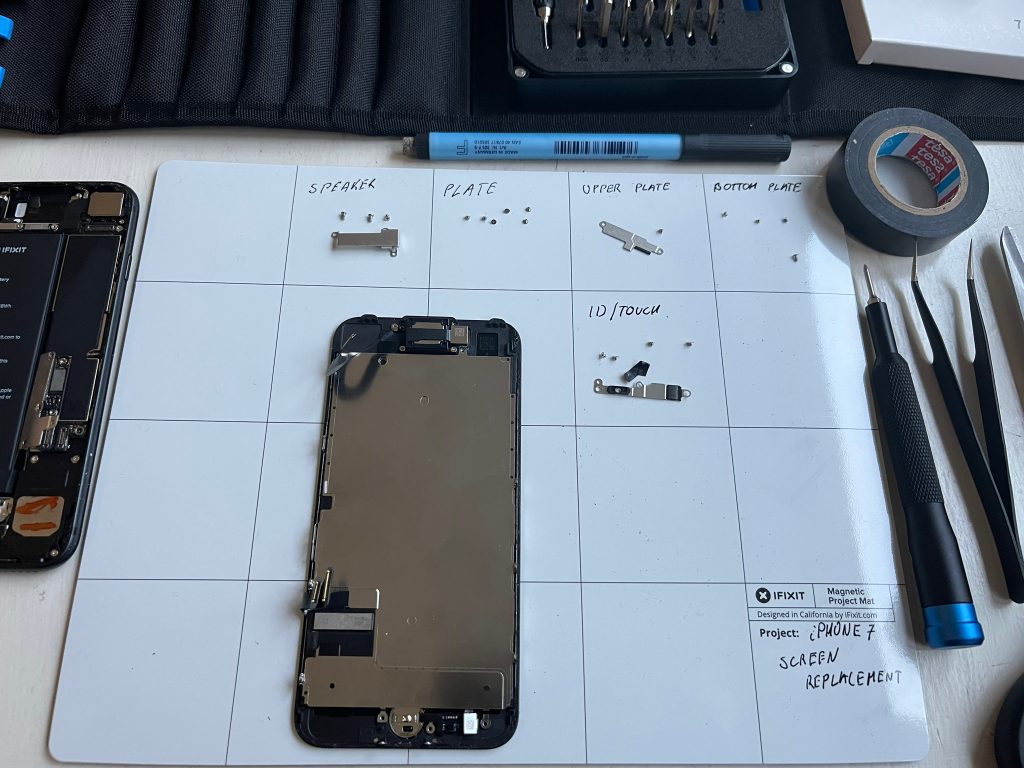
To change the screen, you also need to remove your old home/touch ID button and add it to your new screen. That home/touch ID button is secured by four screws. Three were 1.3mm and one 1.1mm. And I was not able to unscrew that one 1.1mm screw. I kid you not. I was not able to do it with the tools iFixit provided. I do not know whether this is just a freak accident that I am not able to do, or maybe the team over at iFixit may need to re-evaluate their screen assembly kits for iPhone 7. Maybe there is an issue with the screw itself, but we will be able to determine it only later.
And so, even though everything until this point went relatively smoothly, I was not able to finish my first iPhone repair.
What did I do next? I reassembled everything I could. Without the screen of course. And I went to the iFixit shop and bought the PRO Tool kit. This was one of those buys where I did not think twice. At that moment I did not think that there might be an issue with the screw.
I want to repair iPhones. And I will repair iPhones. At least now I will have a PRO tool kit to help me do it.
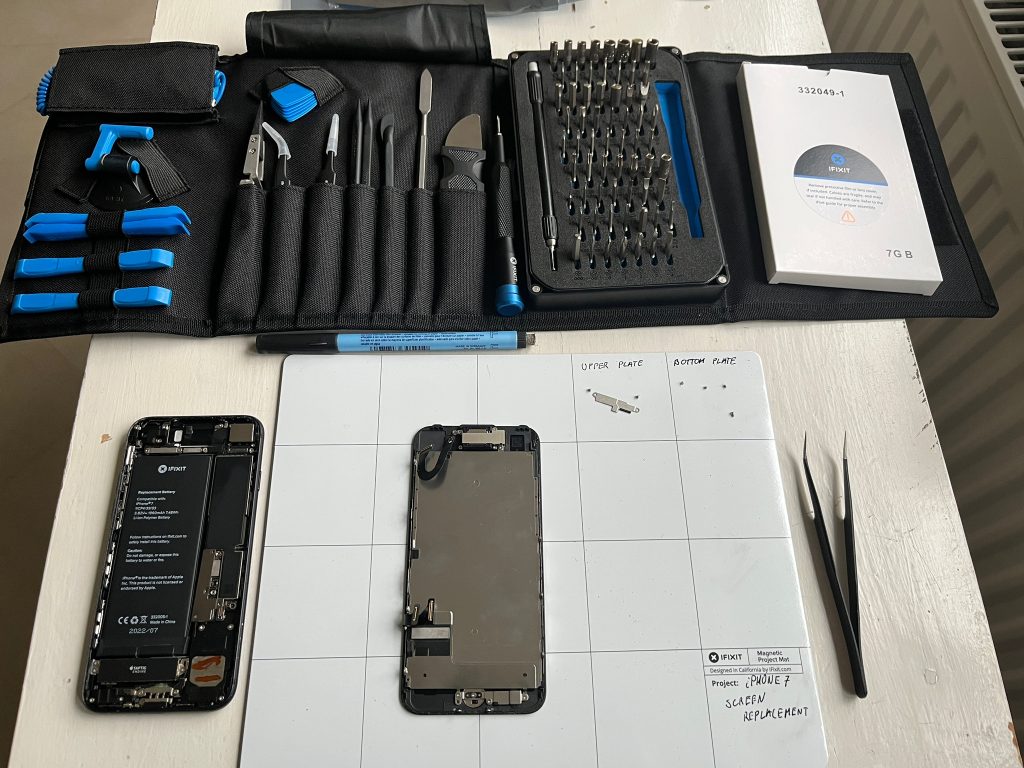
After one week (a benefit of living close to Germany) my tool kit arrived. It has everything I could ever wish for and even more. As you can see below it has all the quality tools for your repair adventure needs.
Without any special pre-repair rituals after one week of waiting the repair continues.
The first thing I do is remove both the front and lower brackets which I added after the first attempt. To my surprise, the lower connector bracket was stuck to the battery connector and I was not able to remove it. Luckily I was able to lift the lower connector bracket and access the screen connector sockets so the issue was not that severe.
But the moment of truth. Was it the 1.1mm screw that prohibited me from finishing this repair a week ago or was it the tools of iFixit?
It was the screw. It most definitely was the screw. That damn thing was stripped. I tried all sane and insane bits but none of them worked. So I admit that my initial assumption that the iFixit team shipped a faulty kit was wrong. If the screw would have been undamaged then I would have easily finished the repair on my first try. But from experiences like these, you learn. And I now have an iFixit PRO tool kit.
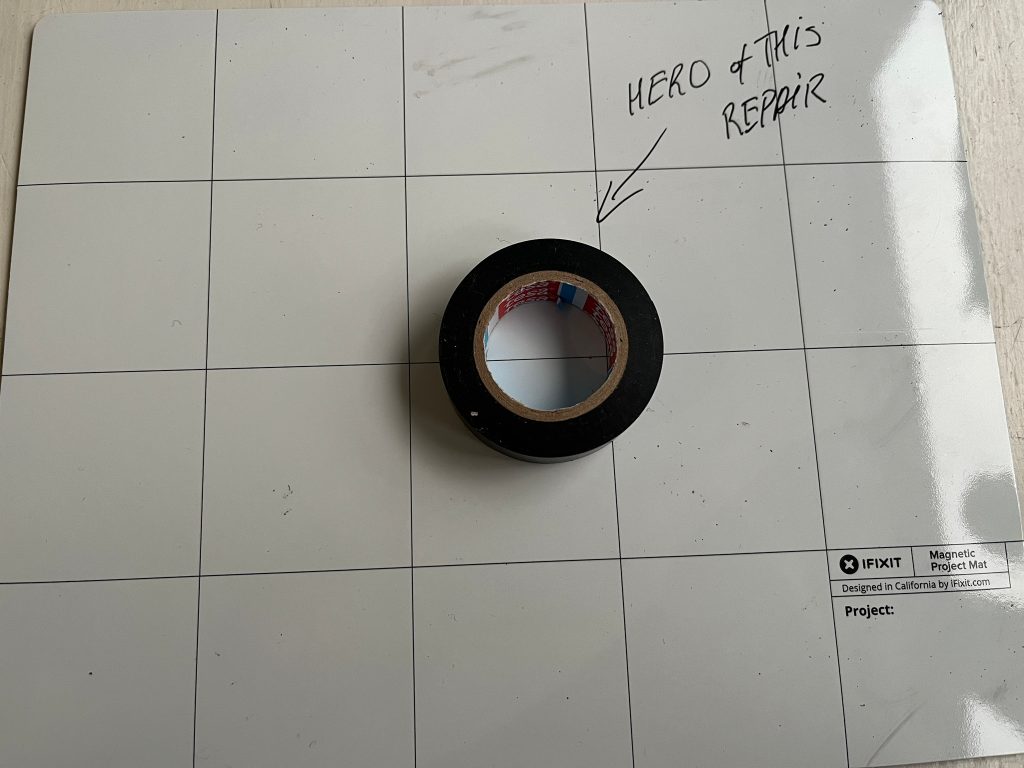
I tried various things on how to open that screw. And when I thought that all hope had failed, I remembered that I have the adhesive tape. I cut a small piece and tried again. If initially, I thought that it does not work, after closer examination with strong lighting and by applying a decent amount of force it showed the opposite. I defeated my iPhone 7 repair nemesis. The home button bracket was off.
After that, I applied my girlfriend’s hairdryer to lessen the adhesive on the ID/Touch button assembly and managed to remove it completely. Success !!!
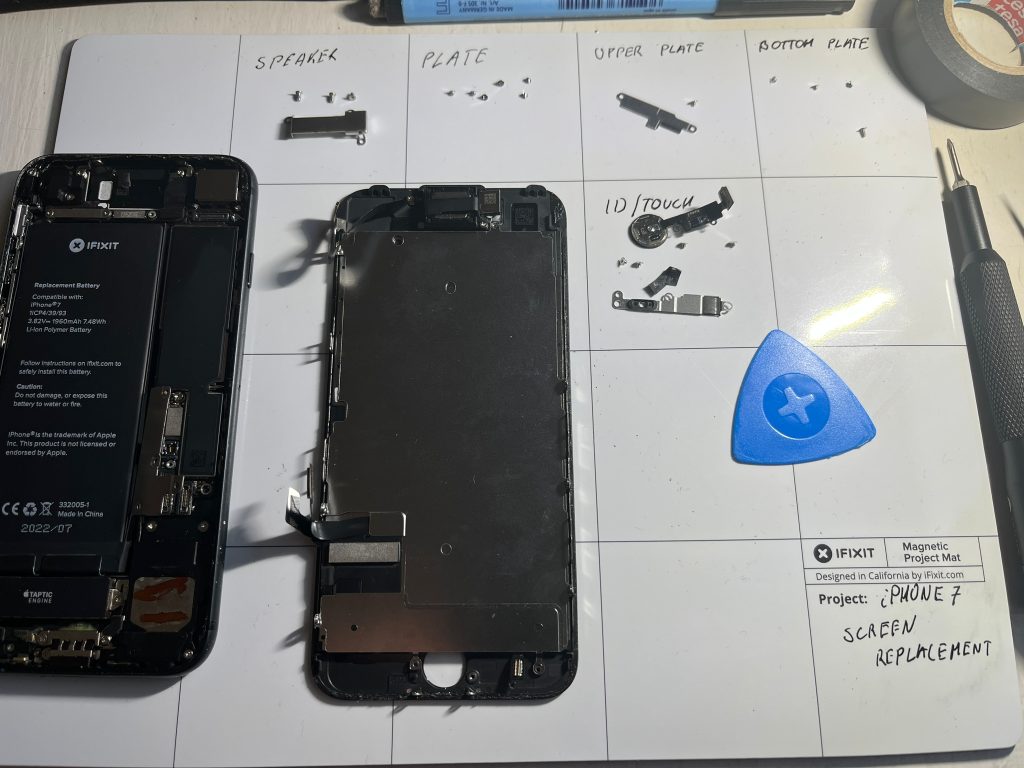
After that, I just needed to reassemble everything. Add the newly removed ID/Touch button, and add the bracket with the damaged screw (I must admit I was able to do it without any issue. I even tried to remove it once again, and this time it unscrew easily.) I assembled both front and lower connector brackets, everything by the book.
And when all that was done. The moment of truth. Will it work? Is it alive?
It is !!! It worked. It launched. It was responsive. The ID/Touch button works. The taptic engine works. The screen is good. The battery is healthy. My repair is a success!
The only thing that I forgot was to apply the new insulation so that the phone is again waterproof. And at the beginning of this second attempt at repair, I forgot to remove both pentalope screws at the bottom. That I realized only when I tried to push the screen down. Luckily nothing got damaged. I will not use this phone outside of my home so the adhesive layer will not be needed. Also, if I decide to completely disassemble the phone or replace something more like, for example, the loudspeaker assembly, this time it will be much easier to open the screen.
My repair is done. After two attempts, after buying an iFixit PRO tool kit, after almost giving up, and after finding a hero for this repair, I am done with my first iPhone repair job. And you know what? I liked it. I liked it very much.
See you next time. And you can be damn well sure that there is going to be a next time.
Kind regards,
Olaaf
P.S. If you have old or broken iPhones, Samsung Galaxy phones, Apple Watches, or iPads, please, contact me.
Feel free to join this Reddit discussion about this particular repair job.


Comment
Comments are closed.