
When I sent my mother a picture of the watchmaking tools I bought for my birthday, she replied, “You’ve liked tinkering with LEGO and metal construction kits since childhood.” She wasn’t wrong. I grew up building cars, robots, and bikes with all sorts of children’s kits, and I loved every minute of it. While other parents complained about their kids not being able to sit still, I could spend hours at my “workstation,” completely absorbed. At one point, I even wanted to become some kind of constructor. It’s not too late to pursue that, but these days, I’m more drawn to watchmaking.
Initially, the idea behind this blog was to document my iPhone repair experiences. Fixing an Apple device felt like the closest thing to taking apart and reassembling a mechanical watch. On the surface, repairing an iPhone might not seem like it has much in common with disassembling a watch, but if you think about it, the tools are quite similar. For both, you need small, precise screwdrivers, tweezers, and a clean workspace. That similarity has become clear to me throughout my documented repair work, and now, with this first watch disassembly and reassembly, I feel like a new chapter is beginning for OLAAF. I may not create another YouTube channel, but I’ll definitely keep going with whatever this is.
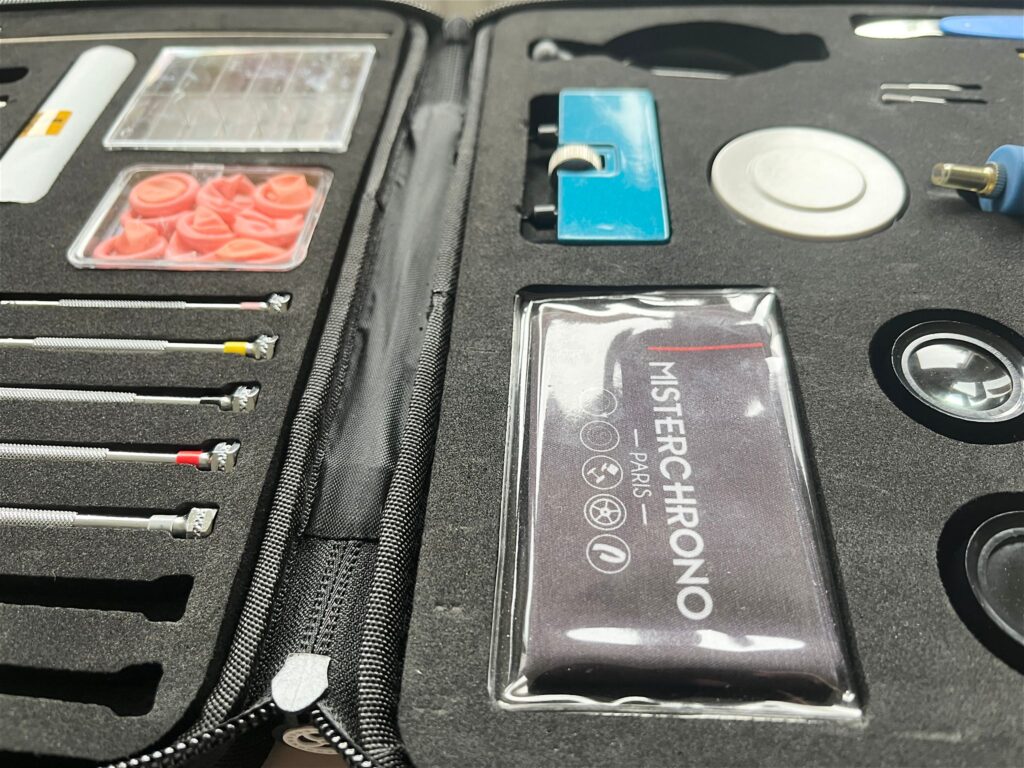
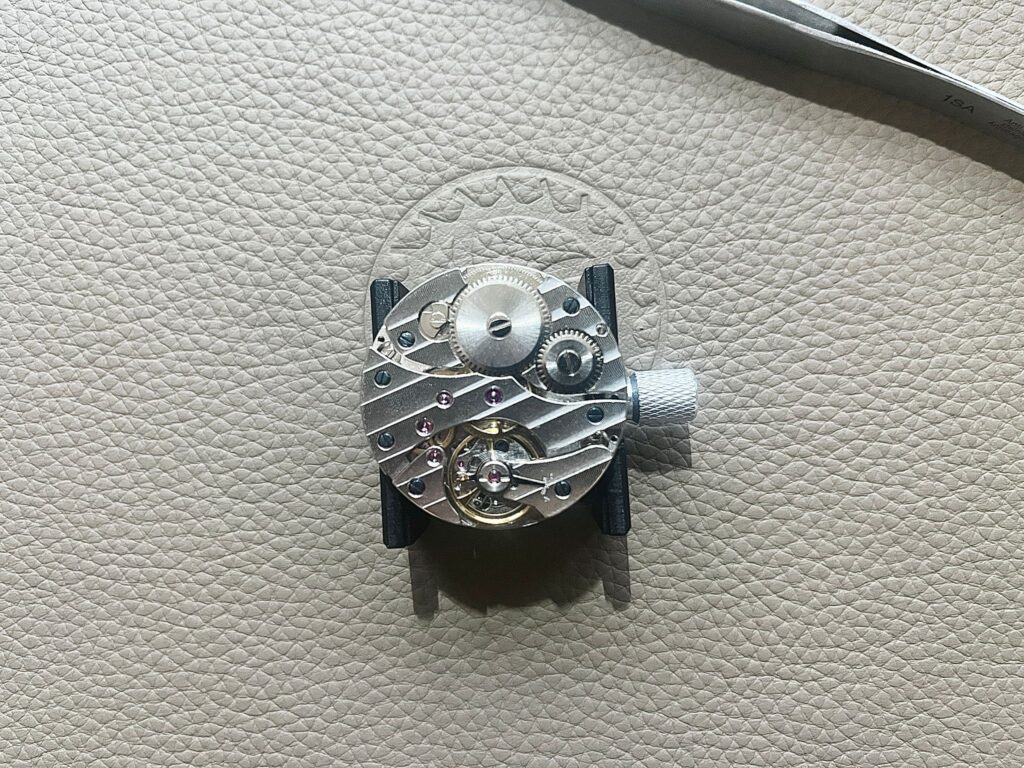
As a birthday gift to myself this year, I bought a watch repair toolkit. As you can see from the picture, it includes almost everything you need to remove and attach a bracelet, as well as to disassemble and reassemble a mechanical movement. Since then, I’ve added a few more items to my collection, but I’ll share more about that later. When I purchased the toolkit, I casually mentioned to the manager that I was buying it for my birthday and that I planned to try my hand at watchmaking. He generously gifted me a Sellita movement to practice on, saying I could disassemble and reassemble it as a learning experience. After three weeks, I finally did it.

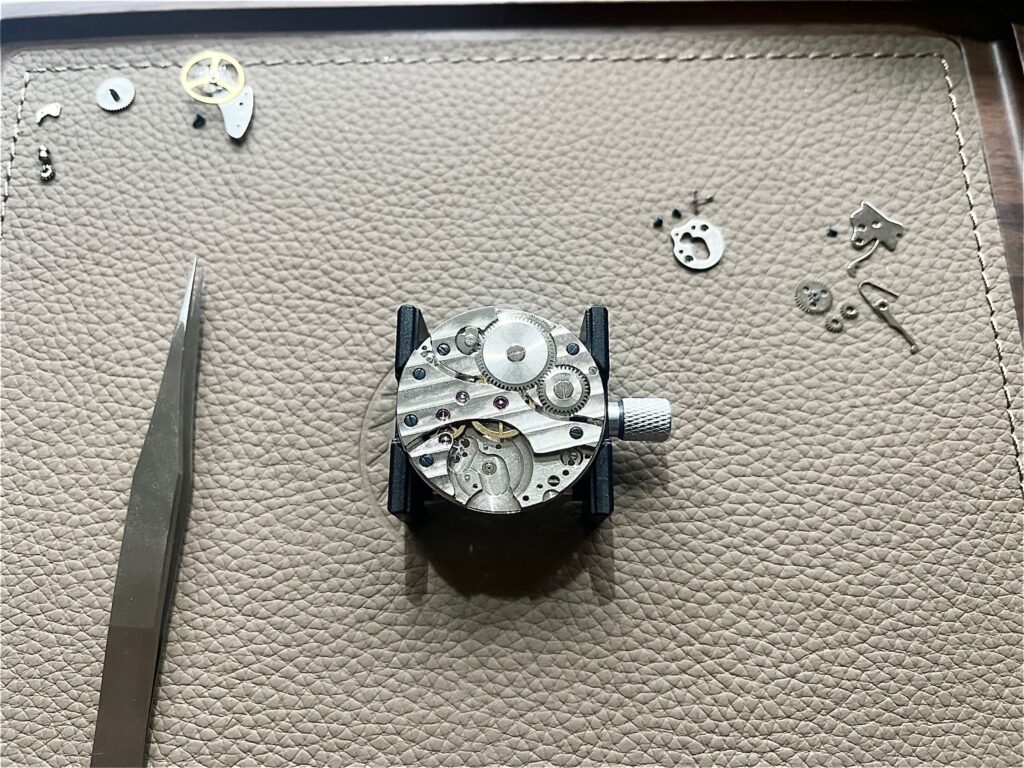
How was it? I loved every second of it. Fortunately, I found a YouTube video from an American watch enthusiast who walked through the disassembly and reassembly of the exact same movement. I’ve always been good at following instructions, so I followed his advice carefully—how to organize the parts and the best approach for tackling the disassembly.
For this first attempt, I used only the tools I bought at the MisterChrono shop in Brussels. While these tools were more than adequate for the project, I did notice some areas for improvement. For instance, I realized I need a better movement holder than the plastic one included in the kit. I also didn’t have a movement cushion, so I’ve ordered one. Both of my magnifying loupes worked well, but upgrading them would be a nice improvement.

Would these tool upgrades have made my first attempt at disassembling and reassembling a watch movement any better? Probably not. But having a movement cushion would have made things a bit more convenient.
Feel free to take your time with my photos—there’s something special about those first attempts. Stay tuned for the next one!
Best regards,
Olaaf

